 Skip to content
FOR CLINICIANS AND PHYSIOTHERAPISTS
Radial head fracture fixation — rehabilitation protocol
Protection, movement and a gradual return to daily activity. Select the stage appropriate to the actual procedure and current clearance.
Using and loading the limb
Initially no lifting, resisted twisting or body-weight support. Loading is usually protected for 6–8 weeks; progress after examination and imaging.
Full guidance ↓Brace or immobilisation
After stable isolated fixation, sling/splint use is usually brief; a brace is not automatic. Ligament repair may change protection.
Full guidance ↓Permitted movement
Use early permitted flexion, extension and forearm rotation. After fracture-dislocation, respect the surgeon-defined stable arc and position.
Full guidance ↓Permitted movement, loading and removal of a brace are separate decisions. Additional repairs may require a more protective programme.
Rehabilitation at a glance
Progression follows healing and functional criteria, not dates alone.
Rehabilitation boards
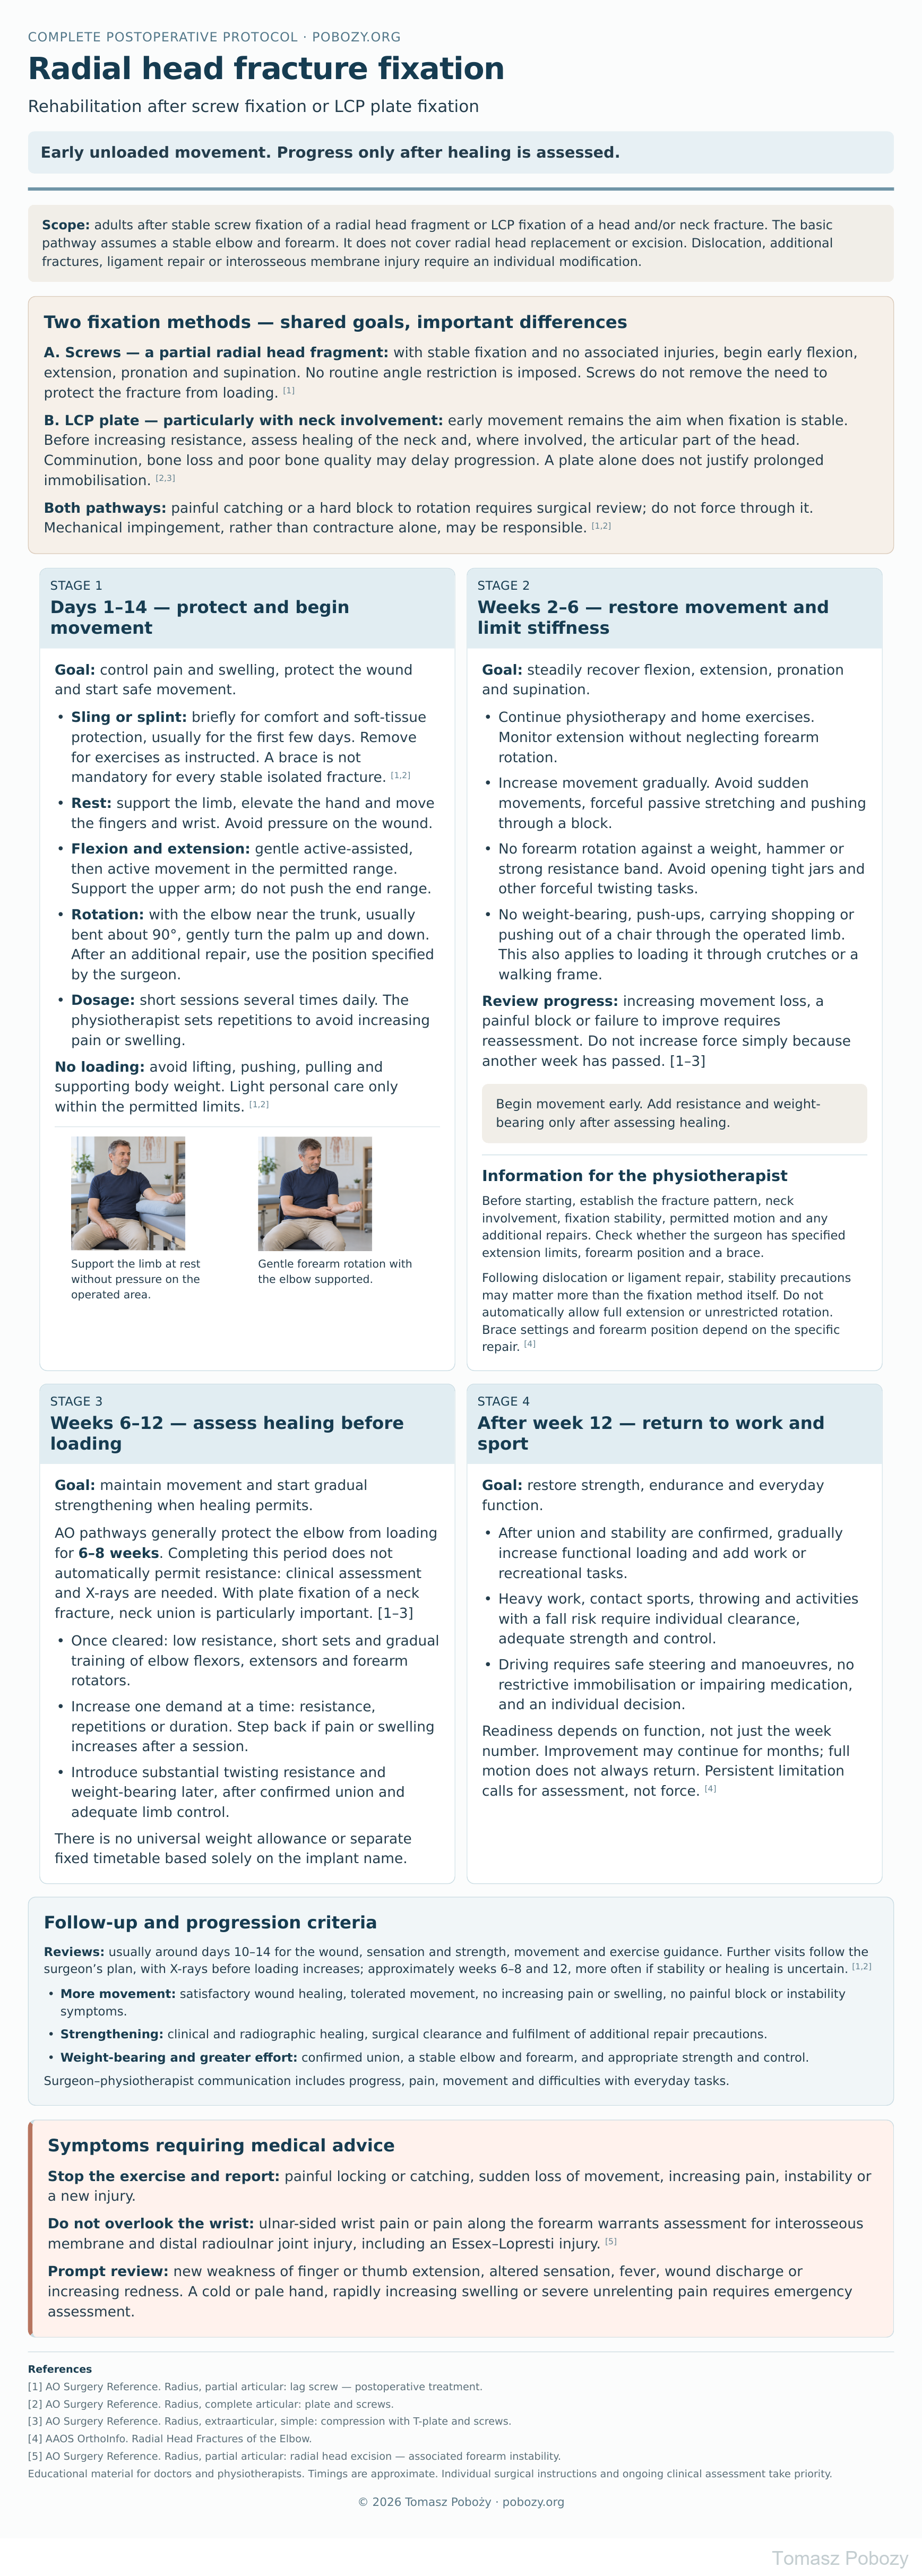
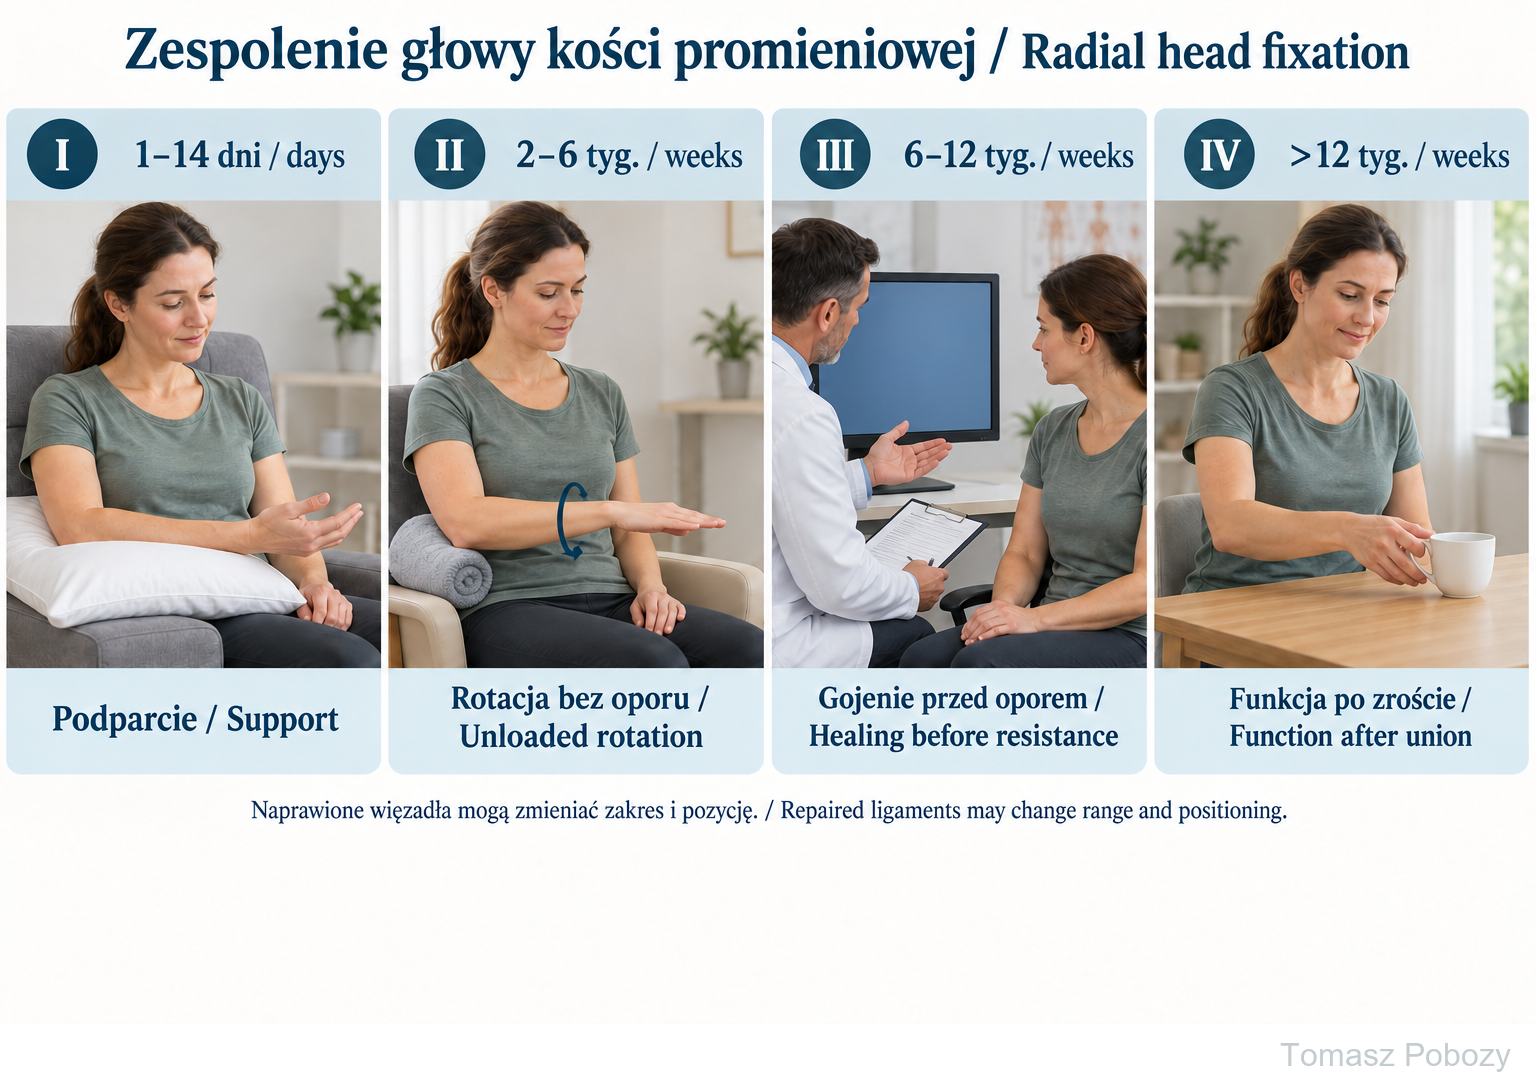
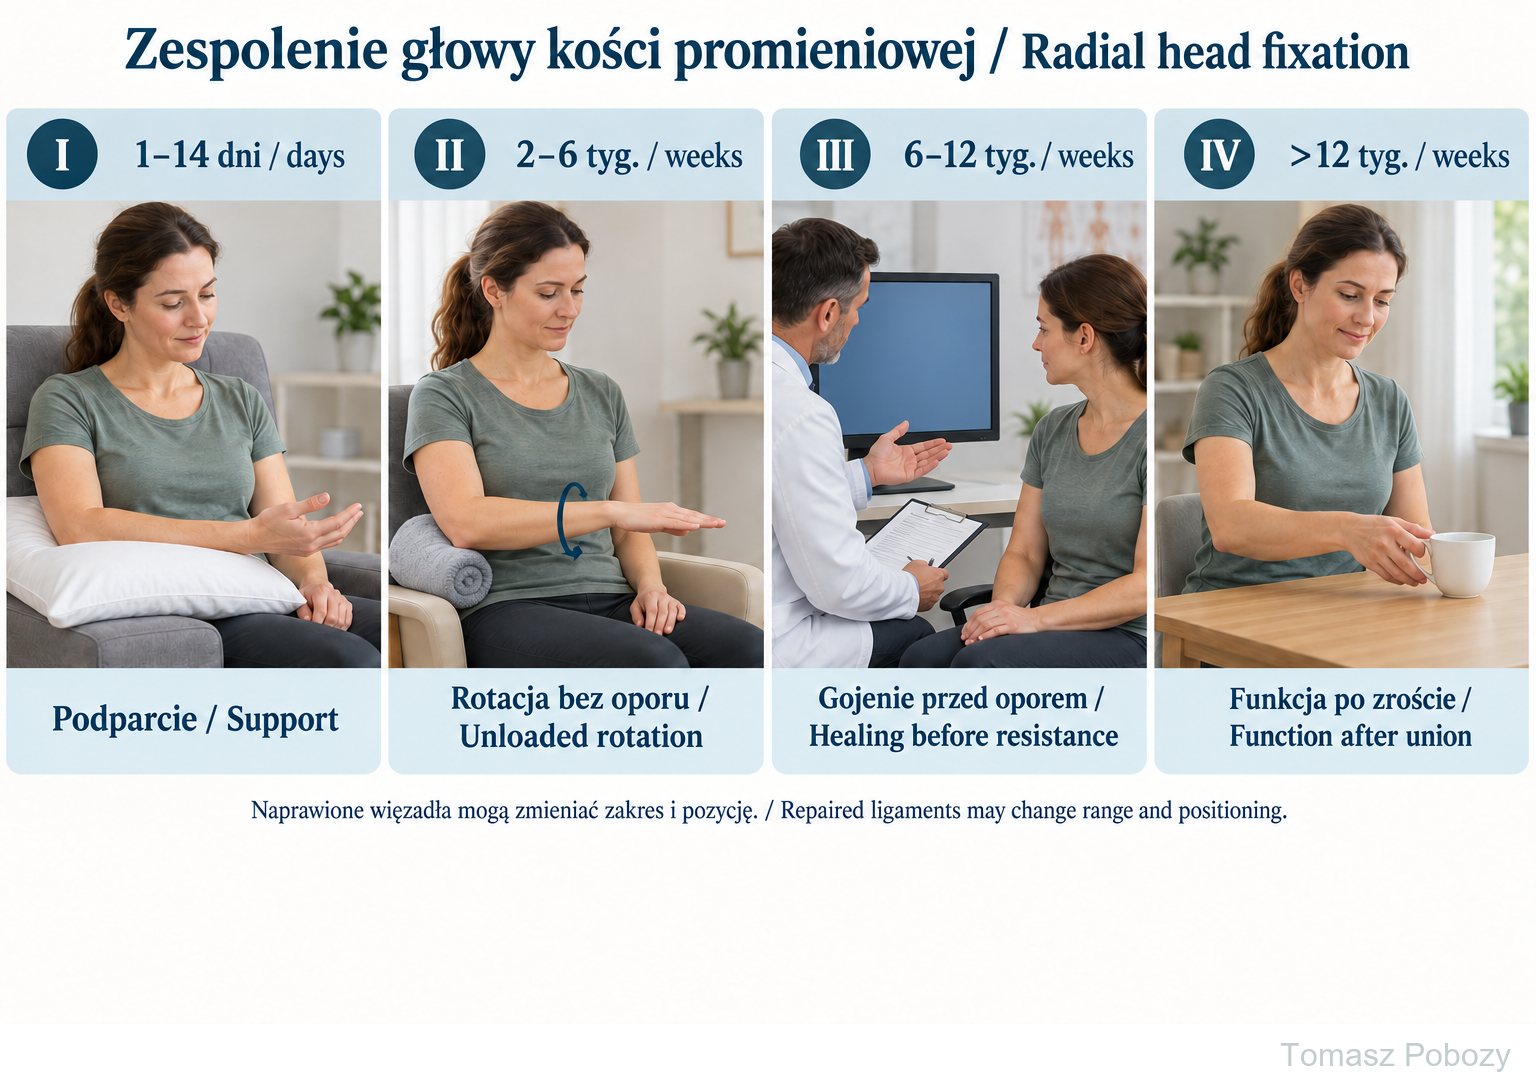
Days 1–14: arm support. Weeks 2–6: unloaded rotation in the permitted position. Weeks 6–12: healing review before resistance. After week 12: gradual light tasks following confirmed union. Repaired ligaments change forearm positioning and permitted range.
Exercises — a closer look
Use the complete boards above together with the instructions for the chosen stage. An exercise shown for a later stage is not permitted early.
Open the relevant complete board and zoom in. The viewer retains all stages and captions.
Exercise instructions and progression are contained in the stage descriptions linked above.
Days 1–14: arm support. Weeks 2–6: unloaded rotation in the permitted position. Weeks 6–12: healing review before resistance. After week 12: gradual light tasks following confirmed union. Repaired ligaments change forearm positioning and permitted range.
Scope and protection
1. Information for the physiotherapist
Before starting, establish the fracture pattern, neck involvement, fixation stability, permitted motion and any additional repairs. Check whether the orthopaedic surgeon has specified extension limits, forearm position and a brace.
Following dislocation or ligament repair, stability precautions may matter more than the fixation method itself. Do not automatically allow full extension or unrestricted rotation. Brace settings and forearm position depend on the specific repair. [4]
2. Two fixation methods — shared goals, important differences
A. Screws — a partial radial head fragment: with stable fixation and no associated injuries, begin early flexion, extension, pronation and supination. No routine angle restriction is imposed. Screws do not remove the need to protect the fracture from loading. [1]
B. LCP plate — particularly with neck involvement: early movement remains the aim when fixation is stable. Before increasing resistance, assess healing of the neck and, where involved, the articular part of the head. Comminution, bone loss and poor bone quality may delay progression. A plate alone does not justify prolonged immobilisation. [2],[3]
Both pathways: painful catching or a hard block to rotation requires surgical review; do not force through it. Mechanical impingement, rather than contracture alone, may be responsible. [1],[2]
7. Follow-up and progression criteria
Reviews: usually around days 10–14 for the wound, sensation and strength, movement and exercise guidance. Further visits follow the surgeon’s plan, with X-rays before loading increases; approximately weeks 6–8 and 12, more often if stability or healing is uncertain. [1],[2]
- More movement: satisfactory wound healing, tolerated movement, no increasing pain or swelling, no painful block or instability symptoms.
- Strengthening: clinical and radiographic healing, surgical clearance and fulfilment of additional repair precautions.
- Weight-bearing and greater effort: confirmed union, a stable elbow and forearm, and appropriate strength and control.
Surgeon–physiotherapist communication includes progress, pain, movement and difficulties with everyday tasks.
Stages and progression criteria
3. Days 1–14 — protect and begin movement
Goal: control pain and swelling, protect the wound and start safe movement.
- Sling or splint: briefly for comfort and soft-tissue protection, usually for the first few days. Remove for exercises as instructed. A brace is not mandatory for every stable isolated fracture. [1],[2]
- Rest: support the limb, elevate the hand and move the fingers and wrist. Avoid pressure on the wound.
- Flexion and extension: gentle active-assisted, then active movement in the permitted range. Support the upper arm; do not push the end range.
- Rotation: with the elbow near the trunk, usually bent about 90°, gently turn the palm up and down. After an additional repair, use the position specified by the surgeon.
- Dosage: short sessions several times daily. The physiotherapist sets repetitions to avoid increasing pain or swelling.
No loading: avoid lifting, pushing, pulling and supporting body weight. Light personal care only within the permitted limits. [1],[2]
4. Weeks 2–6 — restore movement and limit stiffness
Goal: steadily recover flexion, extension, pronation and supination.
- Continue physiotherapy and home exercises. Monitor extension without neglecting forearm rotation.
- Increase movement gradually. Avoid sudden movements, forceful passive stretching and pushing through a block.
- No forearm rotation against a weight, hammer or strong resistance band. Avoid opening tight jars and other forceful twisting tasks.
- No weight-bearing, push-ups, carrying shopping or pushing out of a chair through the operated limb. This also applies to loading it through crutches or a walking frame.
Review progress: increasing movement loss, a painful block or failure to improve requires reassessment. Do not increase force simply because another week has passed. [1],[2],[3]
5. Weeks 6–12 — assess healing before loading
Goal: maintain movement and start gradual strengthening when healing permits.
AO pathways generally protect the elbow from loading for 6–8 weeks. Completing this period does not automatically permit resistance: clinical assessment and X-rays are needed. With plate fixation of a neck fracture, neck union is particularly important. [1],[2],[3]
- Once cleared: low resistance, short sets and gradual training of elbow flexors, extensors and forearm rotators.
- Increase one demand at a time: resistance, repetitions or duration. Step back if pain or swelling increases after a session.
- Introduce substantial twisting resistance and weight-bearing later, after confirmed union and adequate limb control.
There is no universal weight allowance or separate fixed timetable based solely on the implant name.
6. After week 12 — return to work and sport
Goal: restore strength, endurance and everyday function.
- After union and stability are confirmed, gradually increase functional loading and add work or recreational tasks.
- Heavy work, contact sports, throwing and activities with a fall risk require individual clearance, adequate strength and control.
- Driving requires safe steering and manoeuvres, no restrictive immobilisation or impairing medication, and an individual decision.
Readiness depends on function, not just the week number. Improvement may continue for months; full motion does not always return. Persistent limitation calls for assessment, not force. [4]
Warning signs
8. Symptoms requiring medical advice
Stop the exercise and report: painful locking or catching, sudden loss of movement, increasing pain, instability or a new injury.
Do not overlook the wrist: ulnar-sided wrist pain or pain along the forearm warrants assessment for interosseous membrane and distal radioulnar joint injury, including an Essex–Lopresti injury. [5]
Prompt review: new weakness of finger or thumb extension, altered sensation, fever, wound discharge or increasing redness. A cold or pale hand, rapidly increasing swelling or severe unrelenting pain requires emergency assessment.
For a life-threatening emergency, call your local emergency number immediately — 112 in the European Union. On the boards, 112 refers to the EU.
Additional scope notes
The aim is early recovery of elbow flexion and extension and forearm rotation while protecting the healing fracture. Work with a physiotherapist and practise the taught programme at home. Stable fixation allows unloaded movement; it does not yet permit lifting or supporting body weight.
References
References
- AO Surgery Reference. Radius, partial articular: lag screw. Postoperative treatment following ORIF.
- AO Surgery Reference. Radius, complete articular: plate and screws.
- AO Surgery Reference. Radius, extraarticular, simple: compression with T-plate and screws.
- AAOS OrthoInfo. Radial Head Fractures of the Elbow.
- AO Surgery Reference. Radius, partial articular: radial head excision. Associated forearm instability.
References and links checked on 18 October 2026. Existence of a publication does not validate every dose or timetable. Institutional protocols and examples require individualisation.